The Customers page includes a list of your customers, their systems, and an interactive map (if you chose to display it). From this page, you can add, edit, and delete customers. Refer to the following information:
Add a Customer
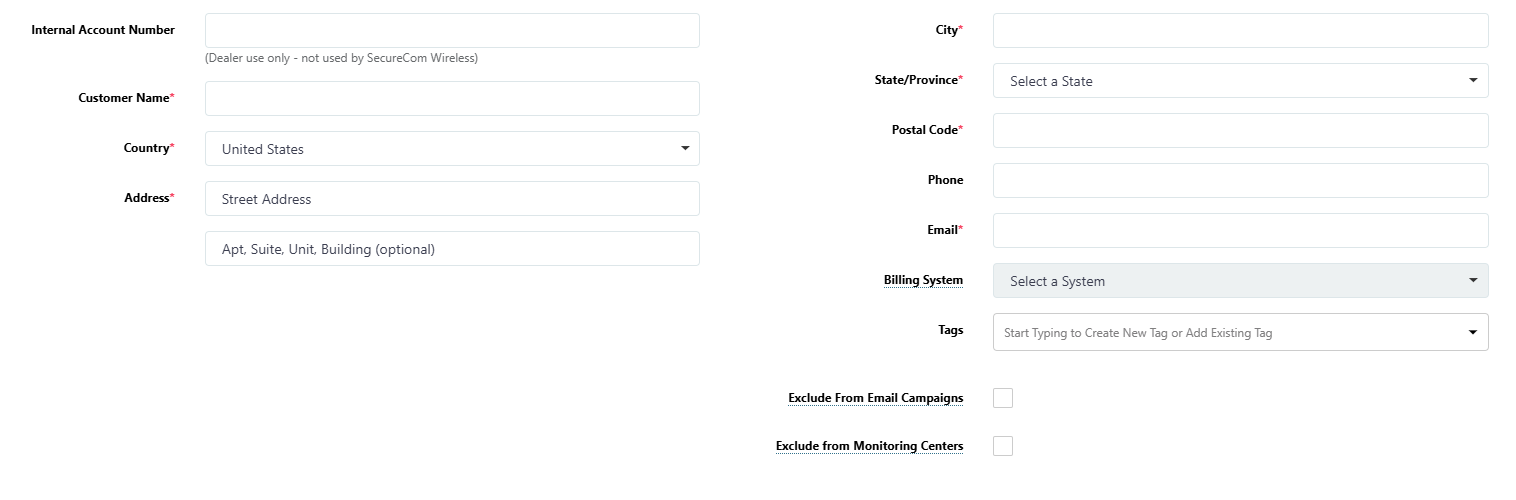
To add a customer, complete the following steps:
-
Log in to Dealer Admin (dealer.securecomwireless.com)
-
Go to Customers.
-
Select the

-
If needed, enter the Internal Account Number.
-
Enter the following information:
-
Customer Name
-
Country
-
Address
-
City
-
State/Province
-
Postal Code
-
Phone (optional)
-
Email
-
-
At Billing System, select the system you want to be billed in the drop-down menu.
-
At Tags, create a new tag or add an existing tag if needed. Refer to Tags for more information.
-
At Exclude From Email Campaigns, select the checkbox if you want to exclude the customer from email campaigns.
-
At Exclude from Monitoring Centers, select the checkbox if you want to exclude the customer from any integrated monitoring centers.
-
At the top of the screen, select Save.
Edit a Customer
To edit a customer’s information, complete the following steps:
-
Log in to Dealer Admin (dealer.securecomwireless.com)
-
Go to Customers.
-
Select the Customer name.
-
In Customer Summary, select Edit.
-
Edit the information as needed.
-
At the top of the screen, select Save.
Delete a Customer
To delete a customer, complete the following steps.
-
Go to Customers.
-
Select the Customer name.
-
In Customer Summary, select Delete.
-
A dialog box displays to confirm your decision. To permanently delete the customer, select Delete.

Customer Information
The Customers page includes a table with information about your customers and their systems. By default, the table displays the following information:
-
Account Number
-
Customer Name
-
System Name
-
System Type
-
System Version
-
Connection Type
You can also use the embedded search bar to find or filter customers. For example, if you want a list of all your customers that use the XR550, you can type XR550 in the search bar to show only the customers who use that system.
Add or Remove Categories
-
Go to Customers, then select Columns button.
-
To add a category to the table, select

-
To remove a category from the table, select
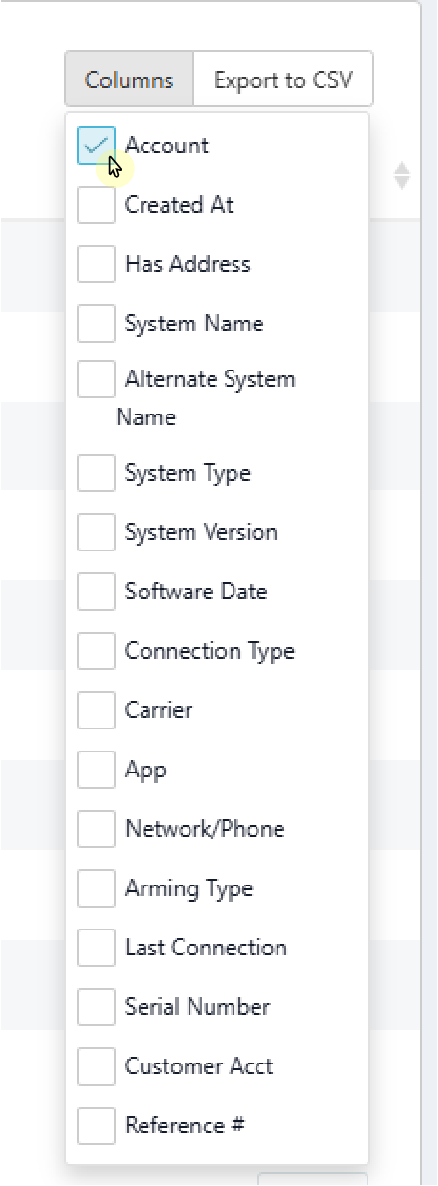
Column Categories
|
Category |
Description |
|---|---|
|
Account |
The account number associated with a system. |
|
Customer |
The name of the customer associated with a system. |
|
Created At |
The date the system was programmed for the customer. |
|
Has Address |
The address of the customer is available and can be used to filter your search. |
|
System Name |
The name given to a system. |
|
Alternate System Name |
A personalized system name chosen by the customer to view in Virtual Keypad, different from System Name. |
|
System Type |
The panel model (XTLplus, XTLtouch, XT Series Control Panels, XR150550, iComSL, CellCom, or DualCom). |
|
System Version |
The firmware version of the system. |
|
Software Date |
The date the software version was updated on the system. |
|
Connection Type |
How the system connects to SecureCom servers. |
|
Carrier |
The type of carrier the system uses. |
|
App |
The app the customer’s system is associated with. |
|
Network/Phone |
The contact phone number associated with a system. |
|
Arming Type |
The type of arming the system is programmed to use (home/sleep/away, all/perimeter, or areas). |
|
Last Connection |
The last date and time a customer accessed the app. |
|
Serial Number |
The serial number on the panel of the system. |
|
Customer Acct |
The customer’s unique account number. |
|
Reference # |
A billing account number specifically for Dealer use, not used by SecureCom. It appears on the invoice. |
Export Customer Information to CSV
Go to Customers, then select Export to CSV in the top right corner of the table. The CSV file downloads to your device.
Interactive Map
The map shows the location of all your systems. To display the interactive map, go to Customers, then select Show Map at the top of the page. To hide it, select Hide Map.
Filter Systems on Map
To filter which systems are displayed on the map, select the Filters arrow on the left side of the map. You can use the following filters:
![]()
![]()
![]()
![]()
Map Icon Descriptions


![]()
![]()
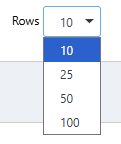
Adjust Rows
To adjust the number of customer rows that display, go to Customers, then select the Rows
drop-down menu at the bottom of the page. You can choose to display 10, 25, 50, or 100 rows at a time.