Dealer Admin helps you manage user codes on you customers’ systems. In this section, you’ll learn how to add, edit, and delete user codes.
Refer to the following information:
Default User Codes
WARNING: To protect customer security, DMP strongly recommends changing the default user code after installation is complete.
XR150/XR550, XT30/XT50, and COM Series Version 194 or Lower
The default user code is 99.
XR150/XR550, XT30/XT50, XT75, and COM Series Version 194 and Higher
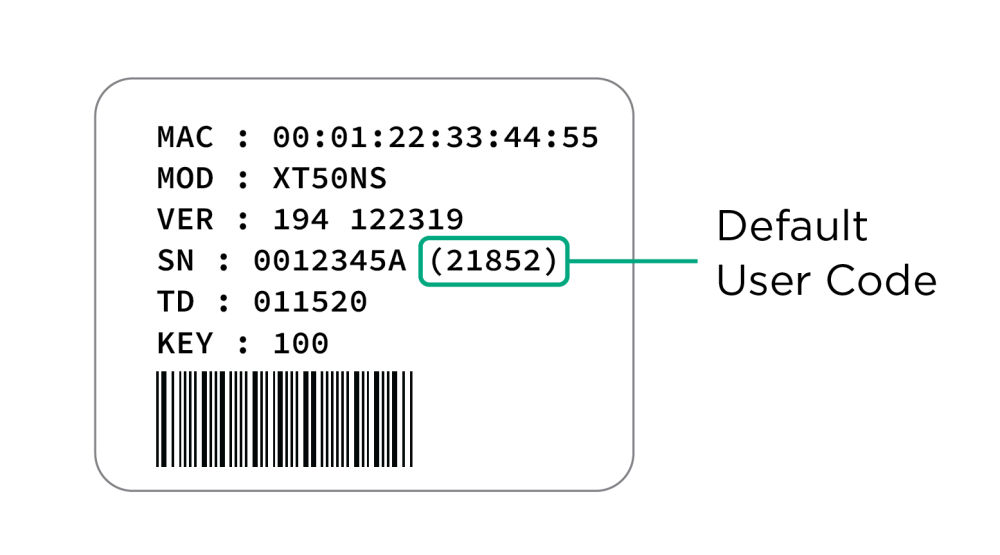
Panels ship with a unique 4-digit master code on the serial number label in parentheses next to the serial number. The code can be modified or deleted in panel programming. To revert the default code to 99, use a programming keypad and go to the Initialization menu, then select Clear All Codes.
Add a User Code
Standard User Code
Note: If you plan to add an ambush (duress) code to a system, reserve User Code 1 for that code. For more information, refer to Add an Ambush User Code in this section.
To add a user code to a system, complete the following steps:
-
Log in to Dealer Admin (dealer.securecomwireless.com).
-
Go to Customers and select the System Name.
-
In the left menu, go to User Codes.
-
Select the

-
Enter the User Name.
-
To use the next available user number on the system, select the Next Available Number checkbox. Otherwise, enter a User Number.
-
Select a Credential Type:
-
Code — For a typical user code that can be used at a keypad or in the Virtual Keypad app.
-
Card — For a physical credential that is used for access control.
-
-
Depending on the credential type you selected, enter a User Code or an Card Number (External).
-
To make the user temporary, select the Temp User checkbox and specify a Start date and End date for when you want the user to begin and expire.
-
To send the code to all Z-Wave locks installed on the system, select Send to Locks.
-
Set the user’s authority level:
-
For XT Series Control Panels, edit the user’s authority level by selecting Master, Arm Only, or Temporary. For more information, refer to Authority Levels.
-
For XR150/XR550 Control Panels, select Profiles for the user. For more information, refer to Profiles.
-
-
Select the Apply to Multiple Systems checkbox to choose multiple systems for this user code to access. Use the search bar to select customers.
-
Select Send.
Ambush User Code
Caution: After creating the code, enable Ambush Reports on each system where you want User Code 1 to function as a duress code. If Ambush Reports are not enabled on a system, User Code 1 functions as a standard code. For more information, refer to the appropriate panel programming guide.
An ambush code sends a silent duress signal when the user disarms a system with User Code 1. To add an ambush code to a system, complete the following steps:
-
Log in to Dealer Admin (dealer.securecomwireless.com).
-
Go to Customers and select the System Name.
-
In the left menu, go to User Codes.
-
Select the
-
Enter the descriptive User Name for the ambush code.
-
Deselect the Next Available Number checkbox.
-
In User Number, enter 1.
-
For Credential Type, select Code.
-
In User Code, enter a unique code.
-
Set the user’s authority level:
-
For XT Series Control Panels, edit the user’s authority level by selecting Master, Arm Only, or Temporary. For more information, refer to Authority Levels.
-
For XR150/XR550 Control Panels, select Profiles for the user. For more information, refer to Profiles.
-
-
Select the Apply to Multiple Systems checkbox and choose applicable systems for the ambush code.
-
Select Send.
-
In left menu, go to Programming.
-
Go to System Reports.
-
Toggle Ambush Reports ON.
-
Select Send All Changes.
Edit a User Code
To edit a user code, complete the following steps:
-
Log in to Dealer Admin (dealer.securecomwireless.com).
-
Go to Customers and select the System Name.
-
In the left menu, go to User Codes.
-
In the row of the user code that you want to edit, select the

-
Edit the user code information as needed.
-
Select the Apply to Multiple Systems checkbox and choose applicable systems for the user code.
-
Select Send.
Delete a User Code
To delete a user code from a system, complete the following steps:
-
Log in to Dealer Admin (dealer.securecomwireless.com).
-
Go to Customers and select the System Name.
-
In the left menu, go to User Codes.
-
In the row of the user code that you want to delete, select the

-
A dialog pops up to confirm your decision. To delete the user code, select Confirm.
Deactivate a User Code
There may be instances when you want to deactivate a user code rather than delete it. For example, when a card is lost, you can quickly deactivate the user code that has the card assigned to it, which automatically revokes all of the profile and access permissions assigned to that user.
To deactivate a user code, complete the following steps:
-
Log in to Dealer Admin (dealer.securecomwireless.com).
-
Go to Customers and select the System Name.
-
In the left menu, go to User Codes.
-
In the row of the user code that you want to edit, select the
-
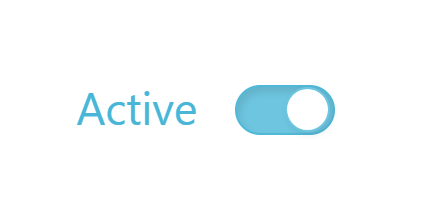
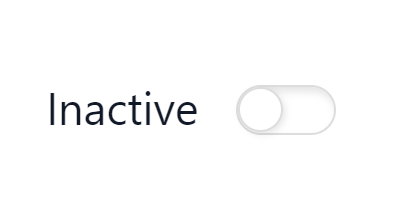
Select the slider to set the user code from Active to Inactive.
-
Select Send.